Summer CSA Week 4
/Well, things are starting to shift in our CSA box. The abundance of greens is over and now we're working with a little more variety. We got our first cucumbers this week along with a few other new additions.
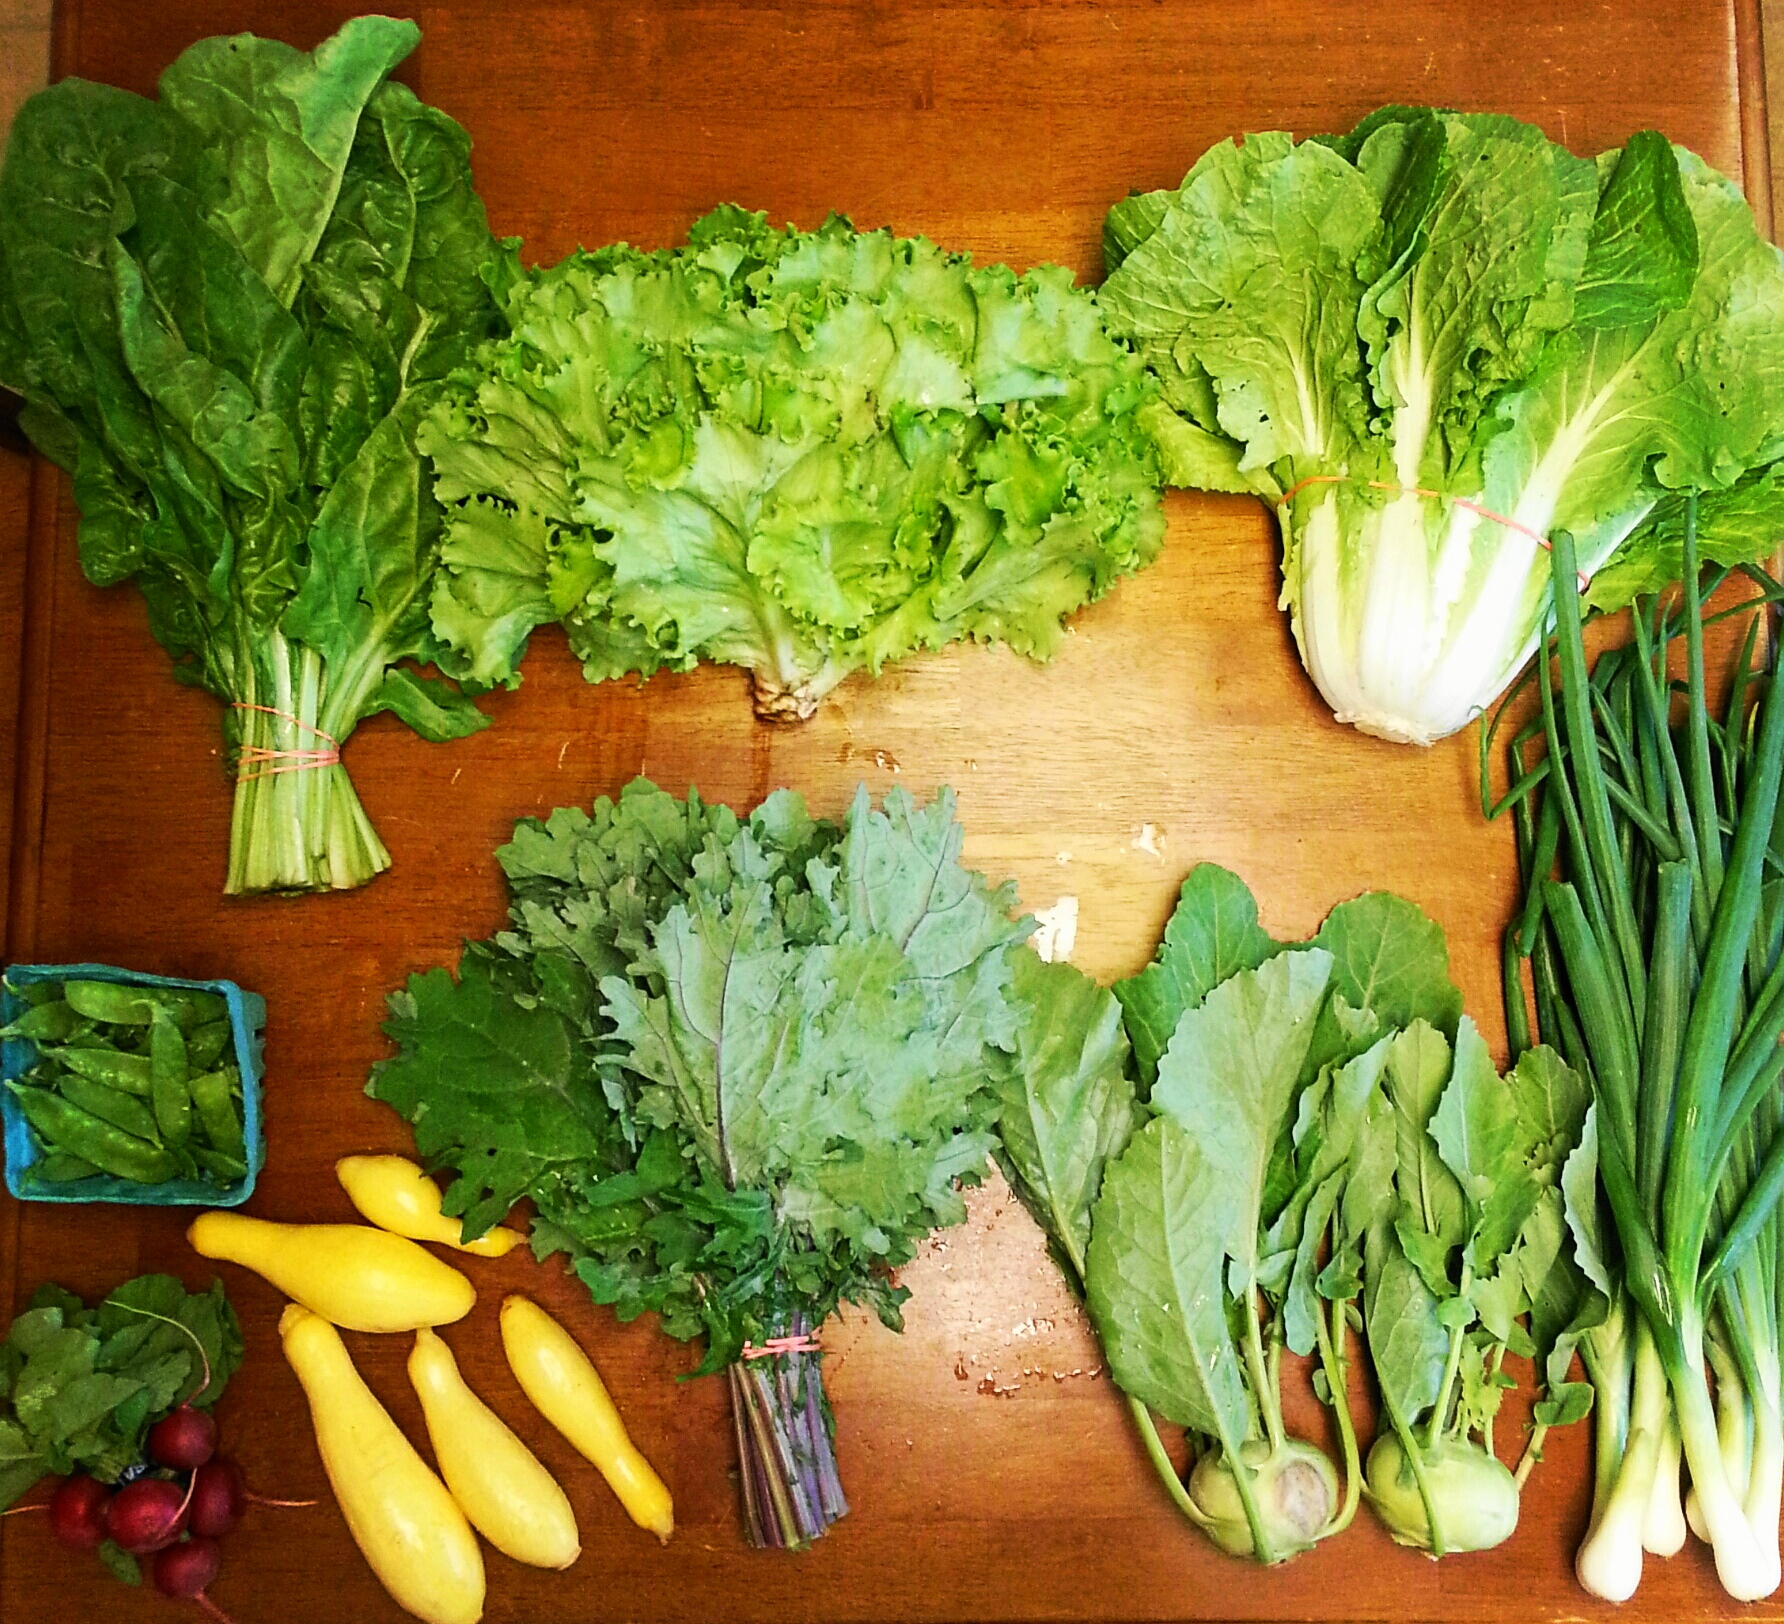
Here's the picture of everything laid out. It's all listed below starting at the top and moving left to right.

- Broccoli
- Head of lettuce
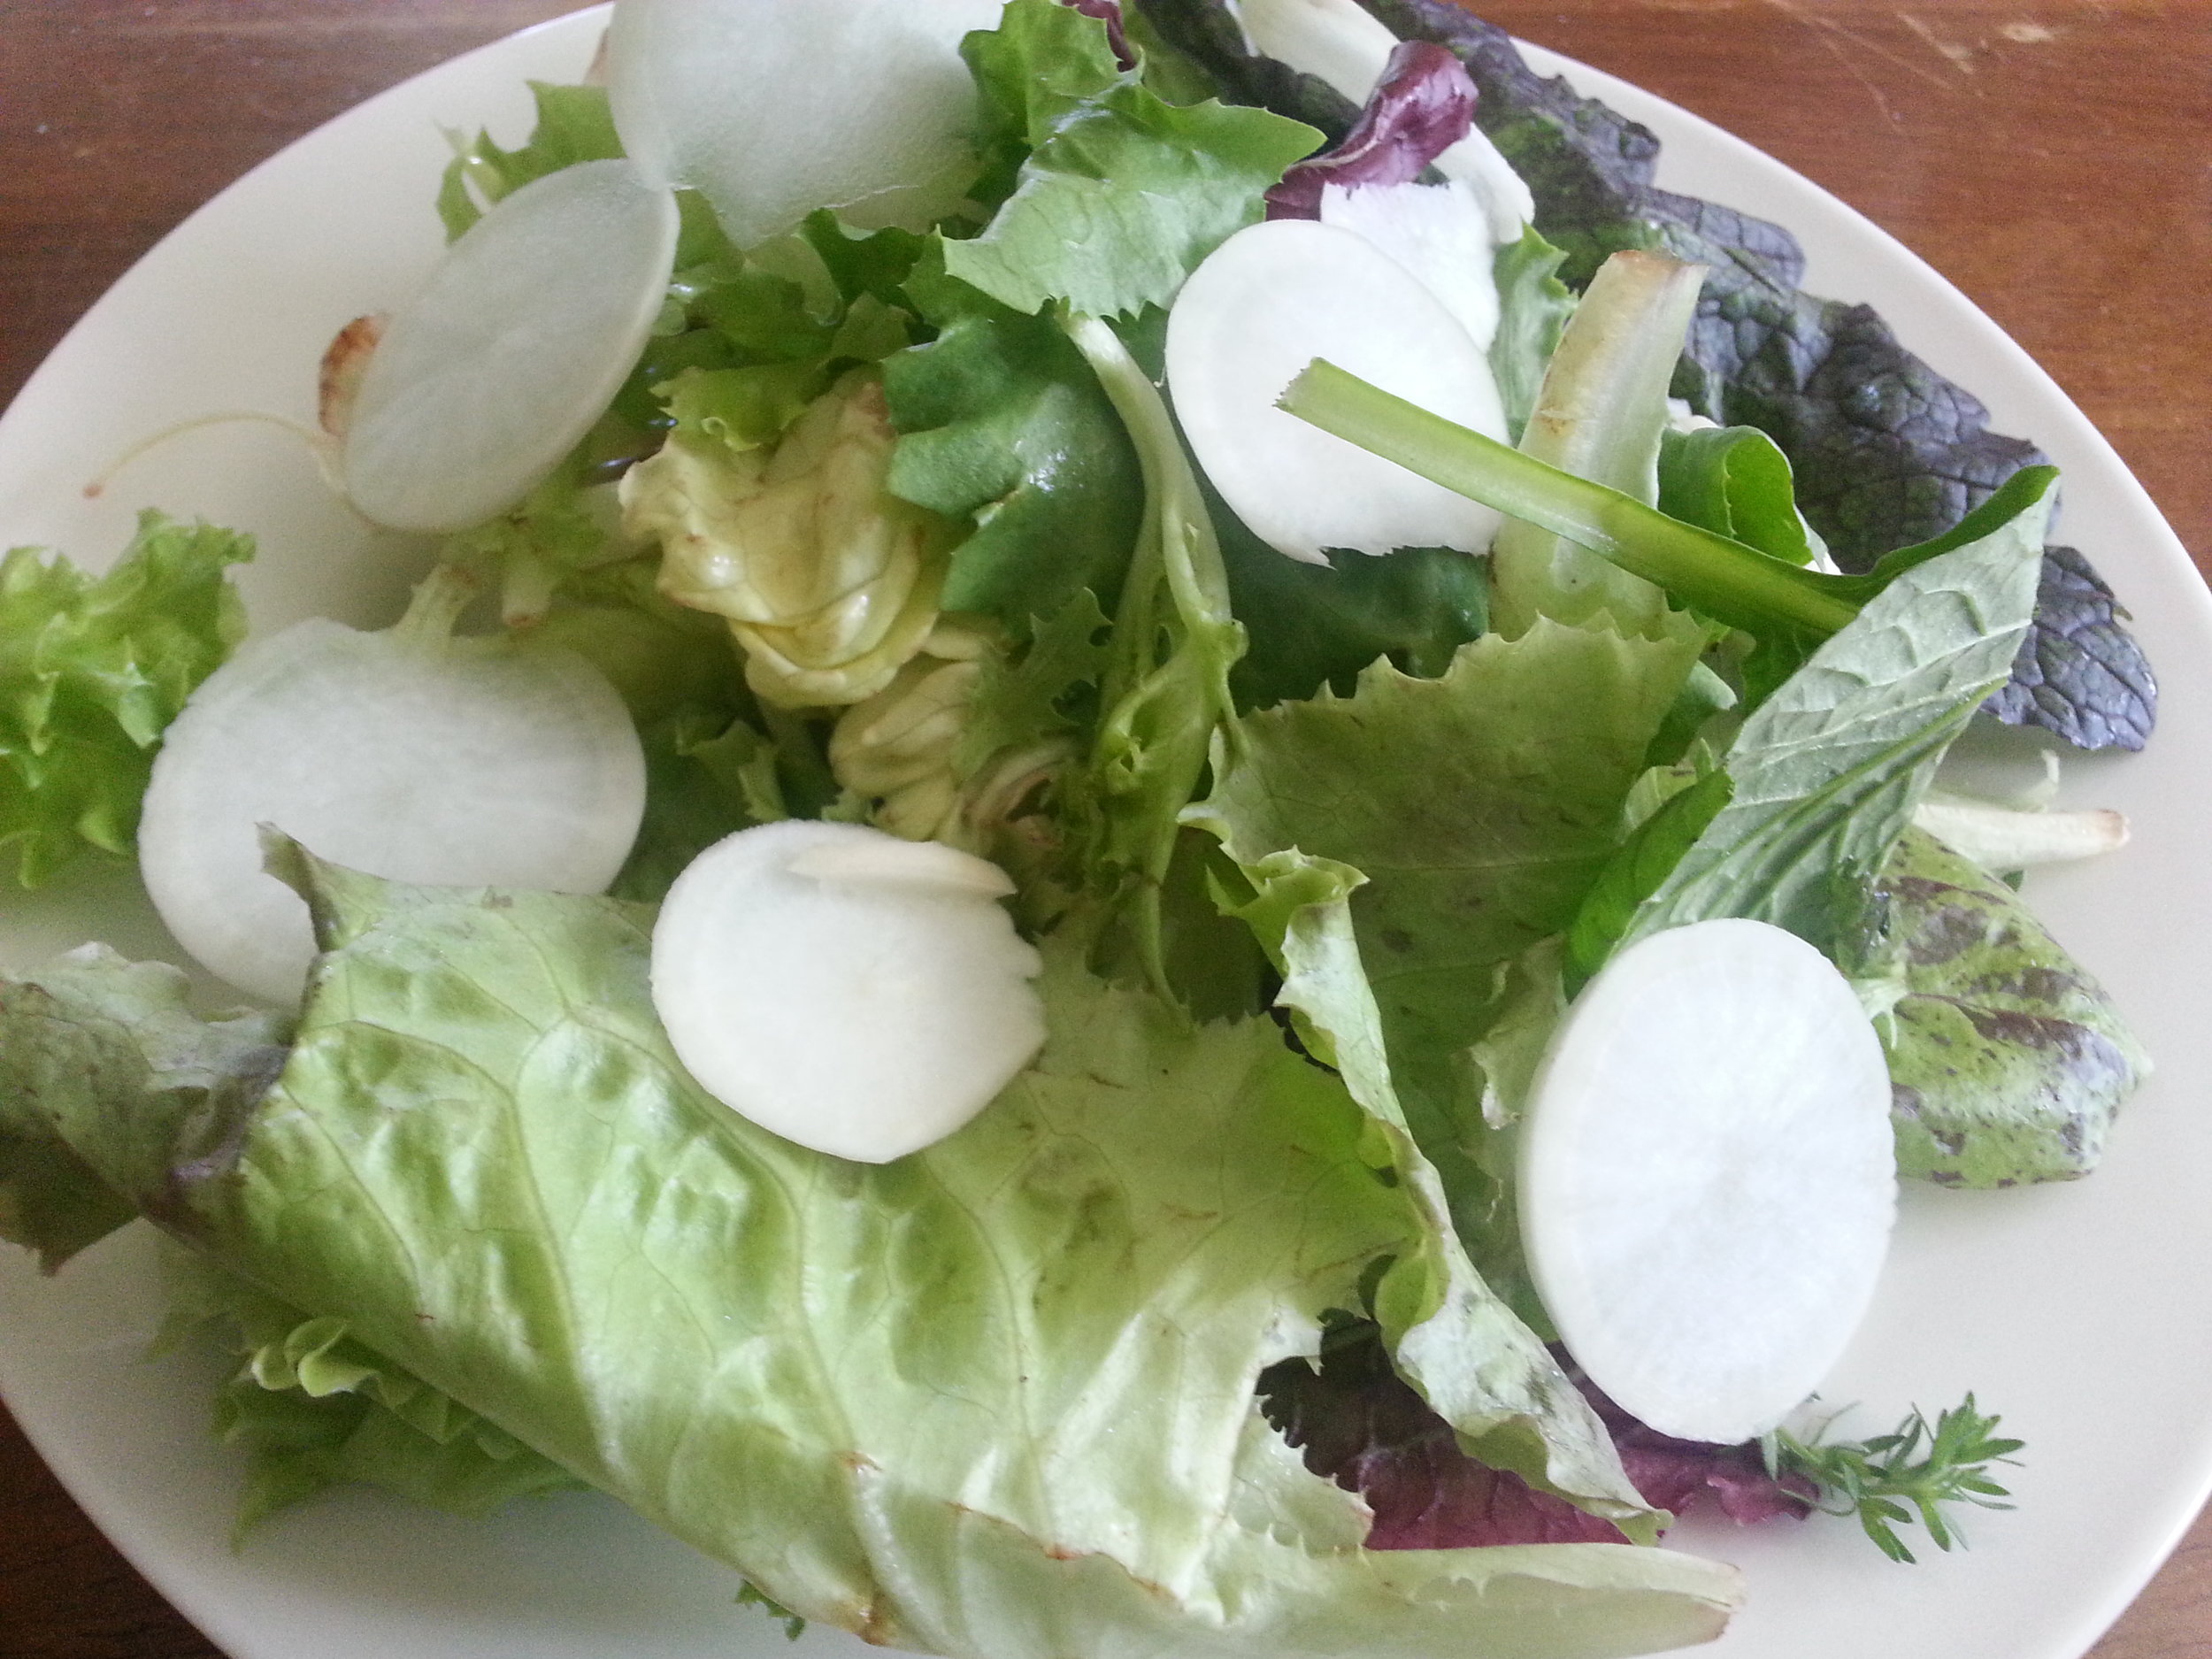
- Salad mix
- Yellow squash
- Fresh elephant garlic
- Green and purple basil
- Assorted cucumbers
- Globe radishes
- Spring onions
The radishes and cucumbers served as snacks, so no pics of those.
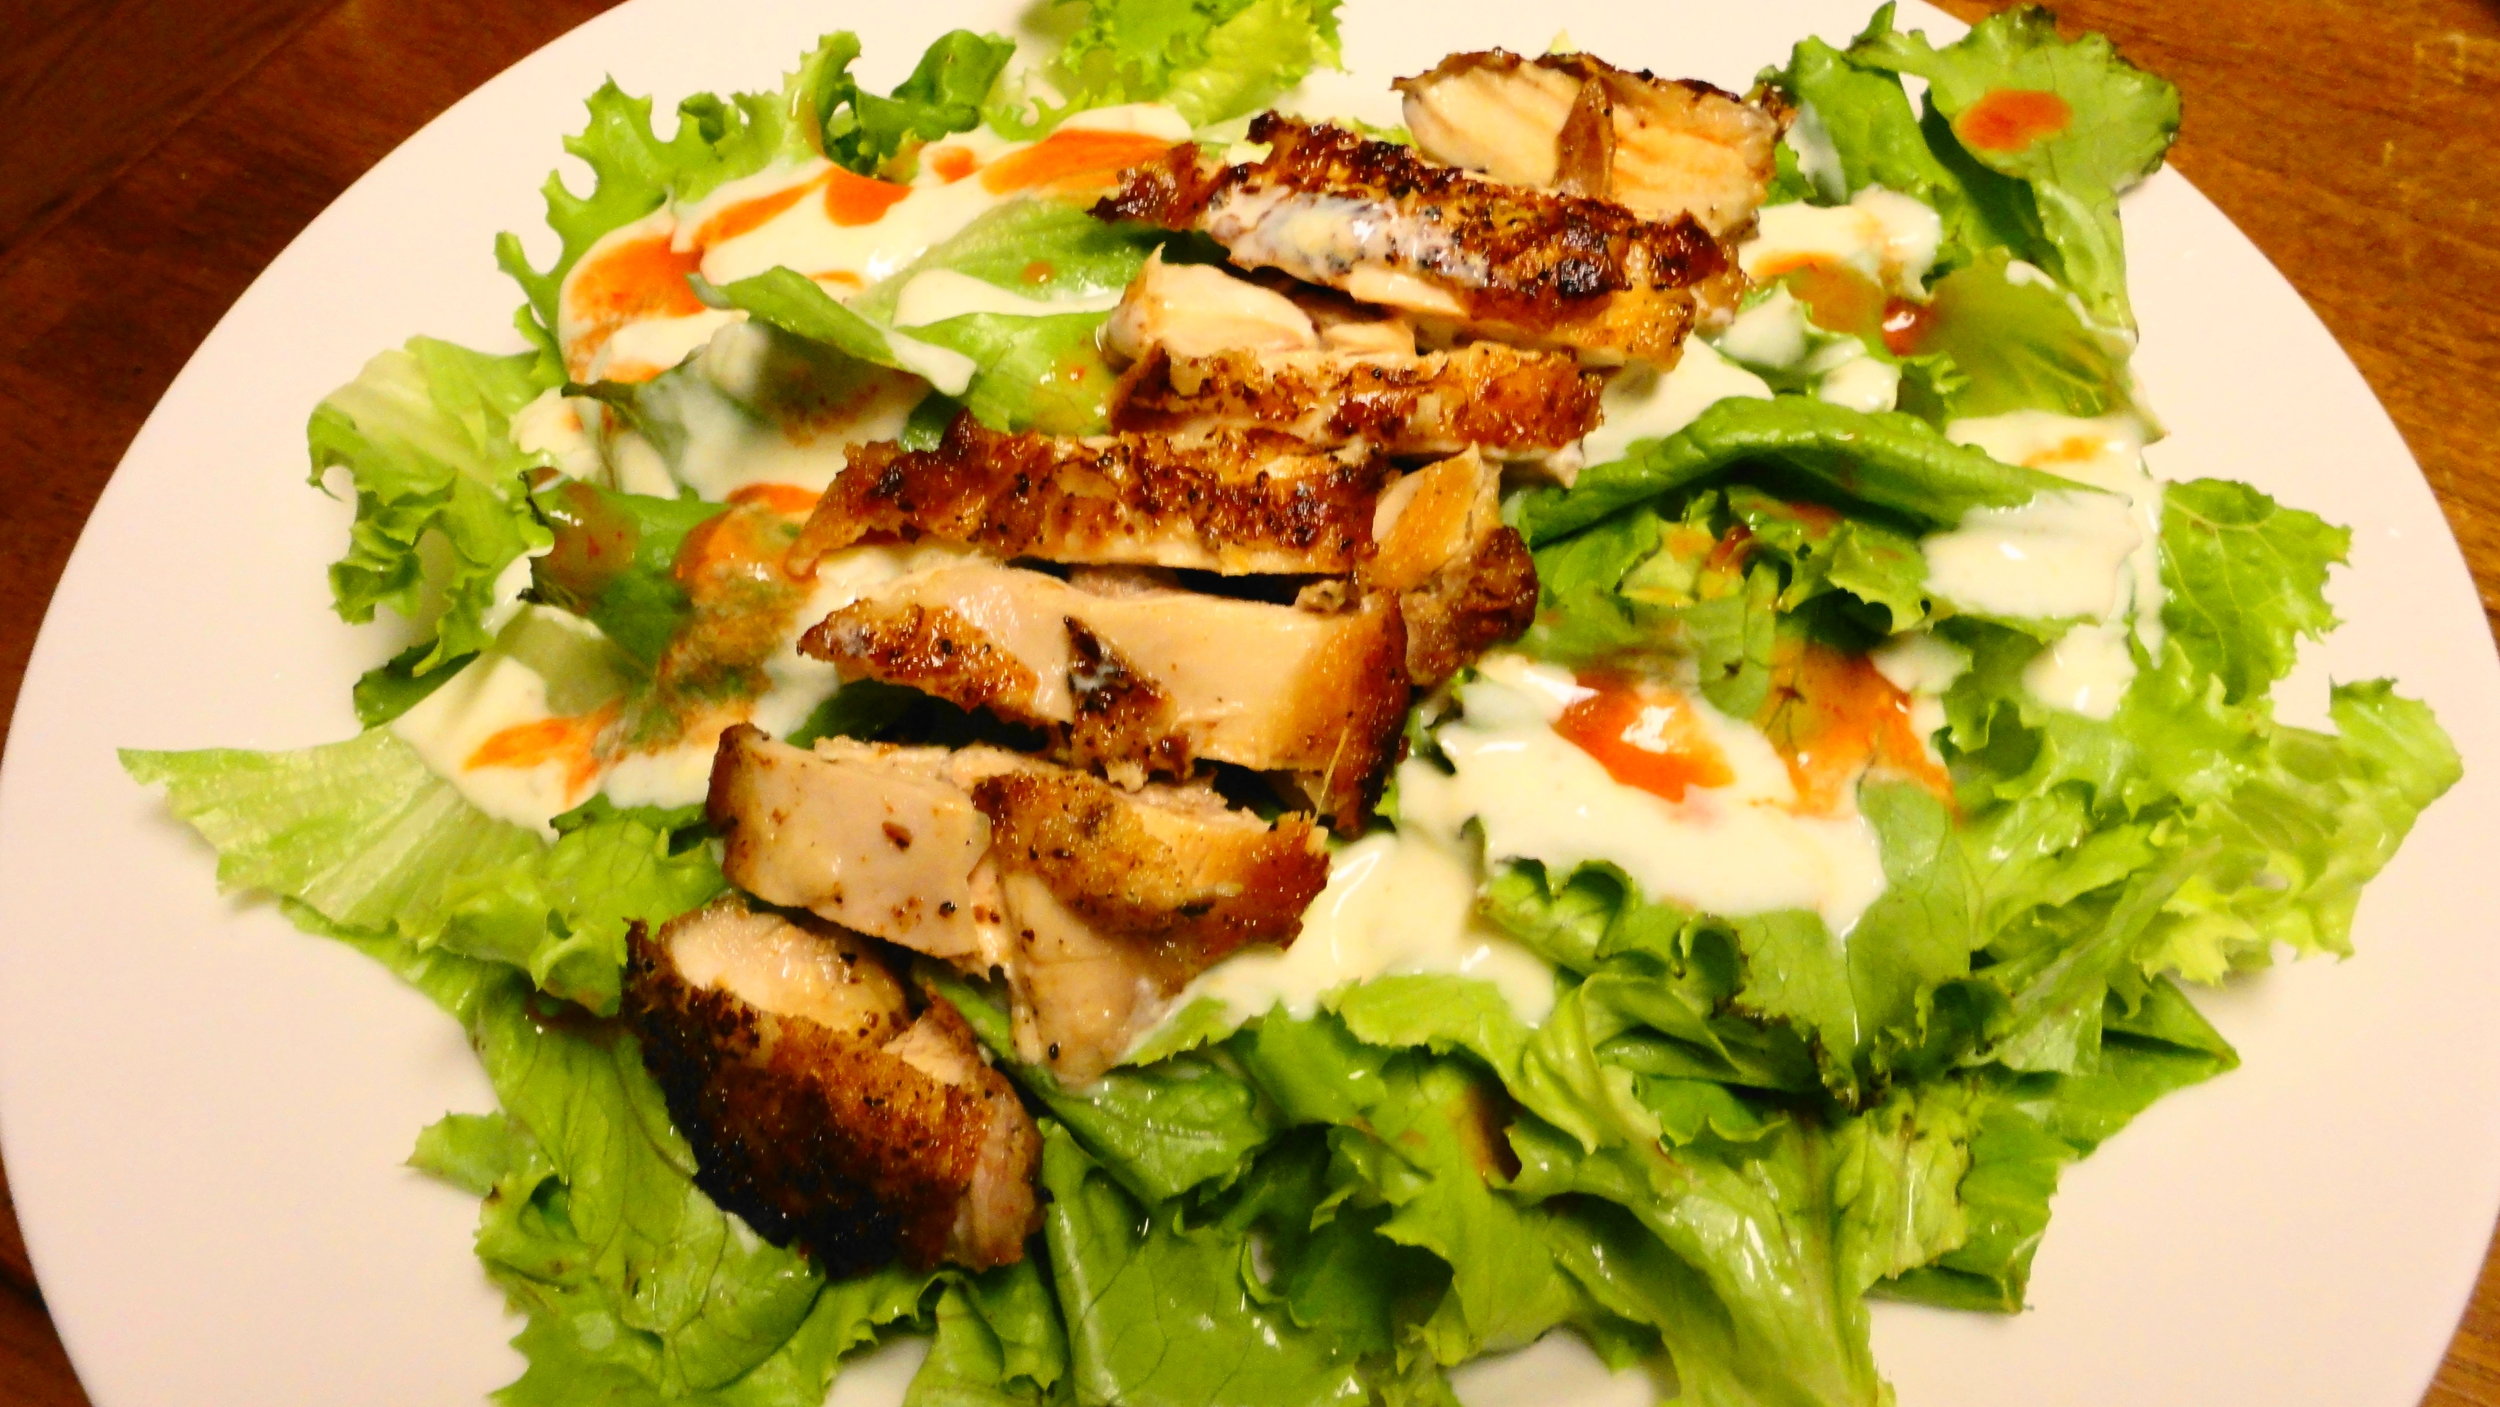
We were able to use up a good chunk of the lettuce with an entree salad. This Buffalo Chicken Salad is become a new favorite around here. Look for a full recipe in the future. :D
One night we had a zucchini frittata with a side salad. Simple, easy, and delicious!

Pizza night also benefited from our abundance of lettuce. Plus, who doesn't like a little homemade ranch on their pizza? The pizza itself looks slightly burnt in this picture, but I promise it was totally edible in real life.

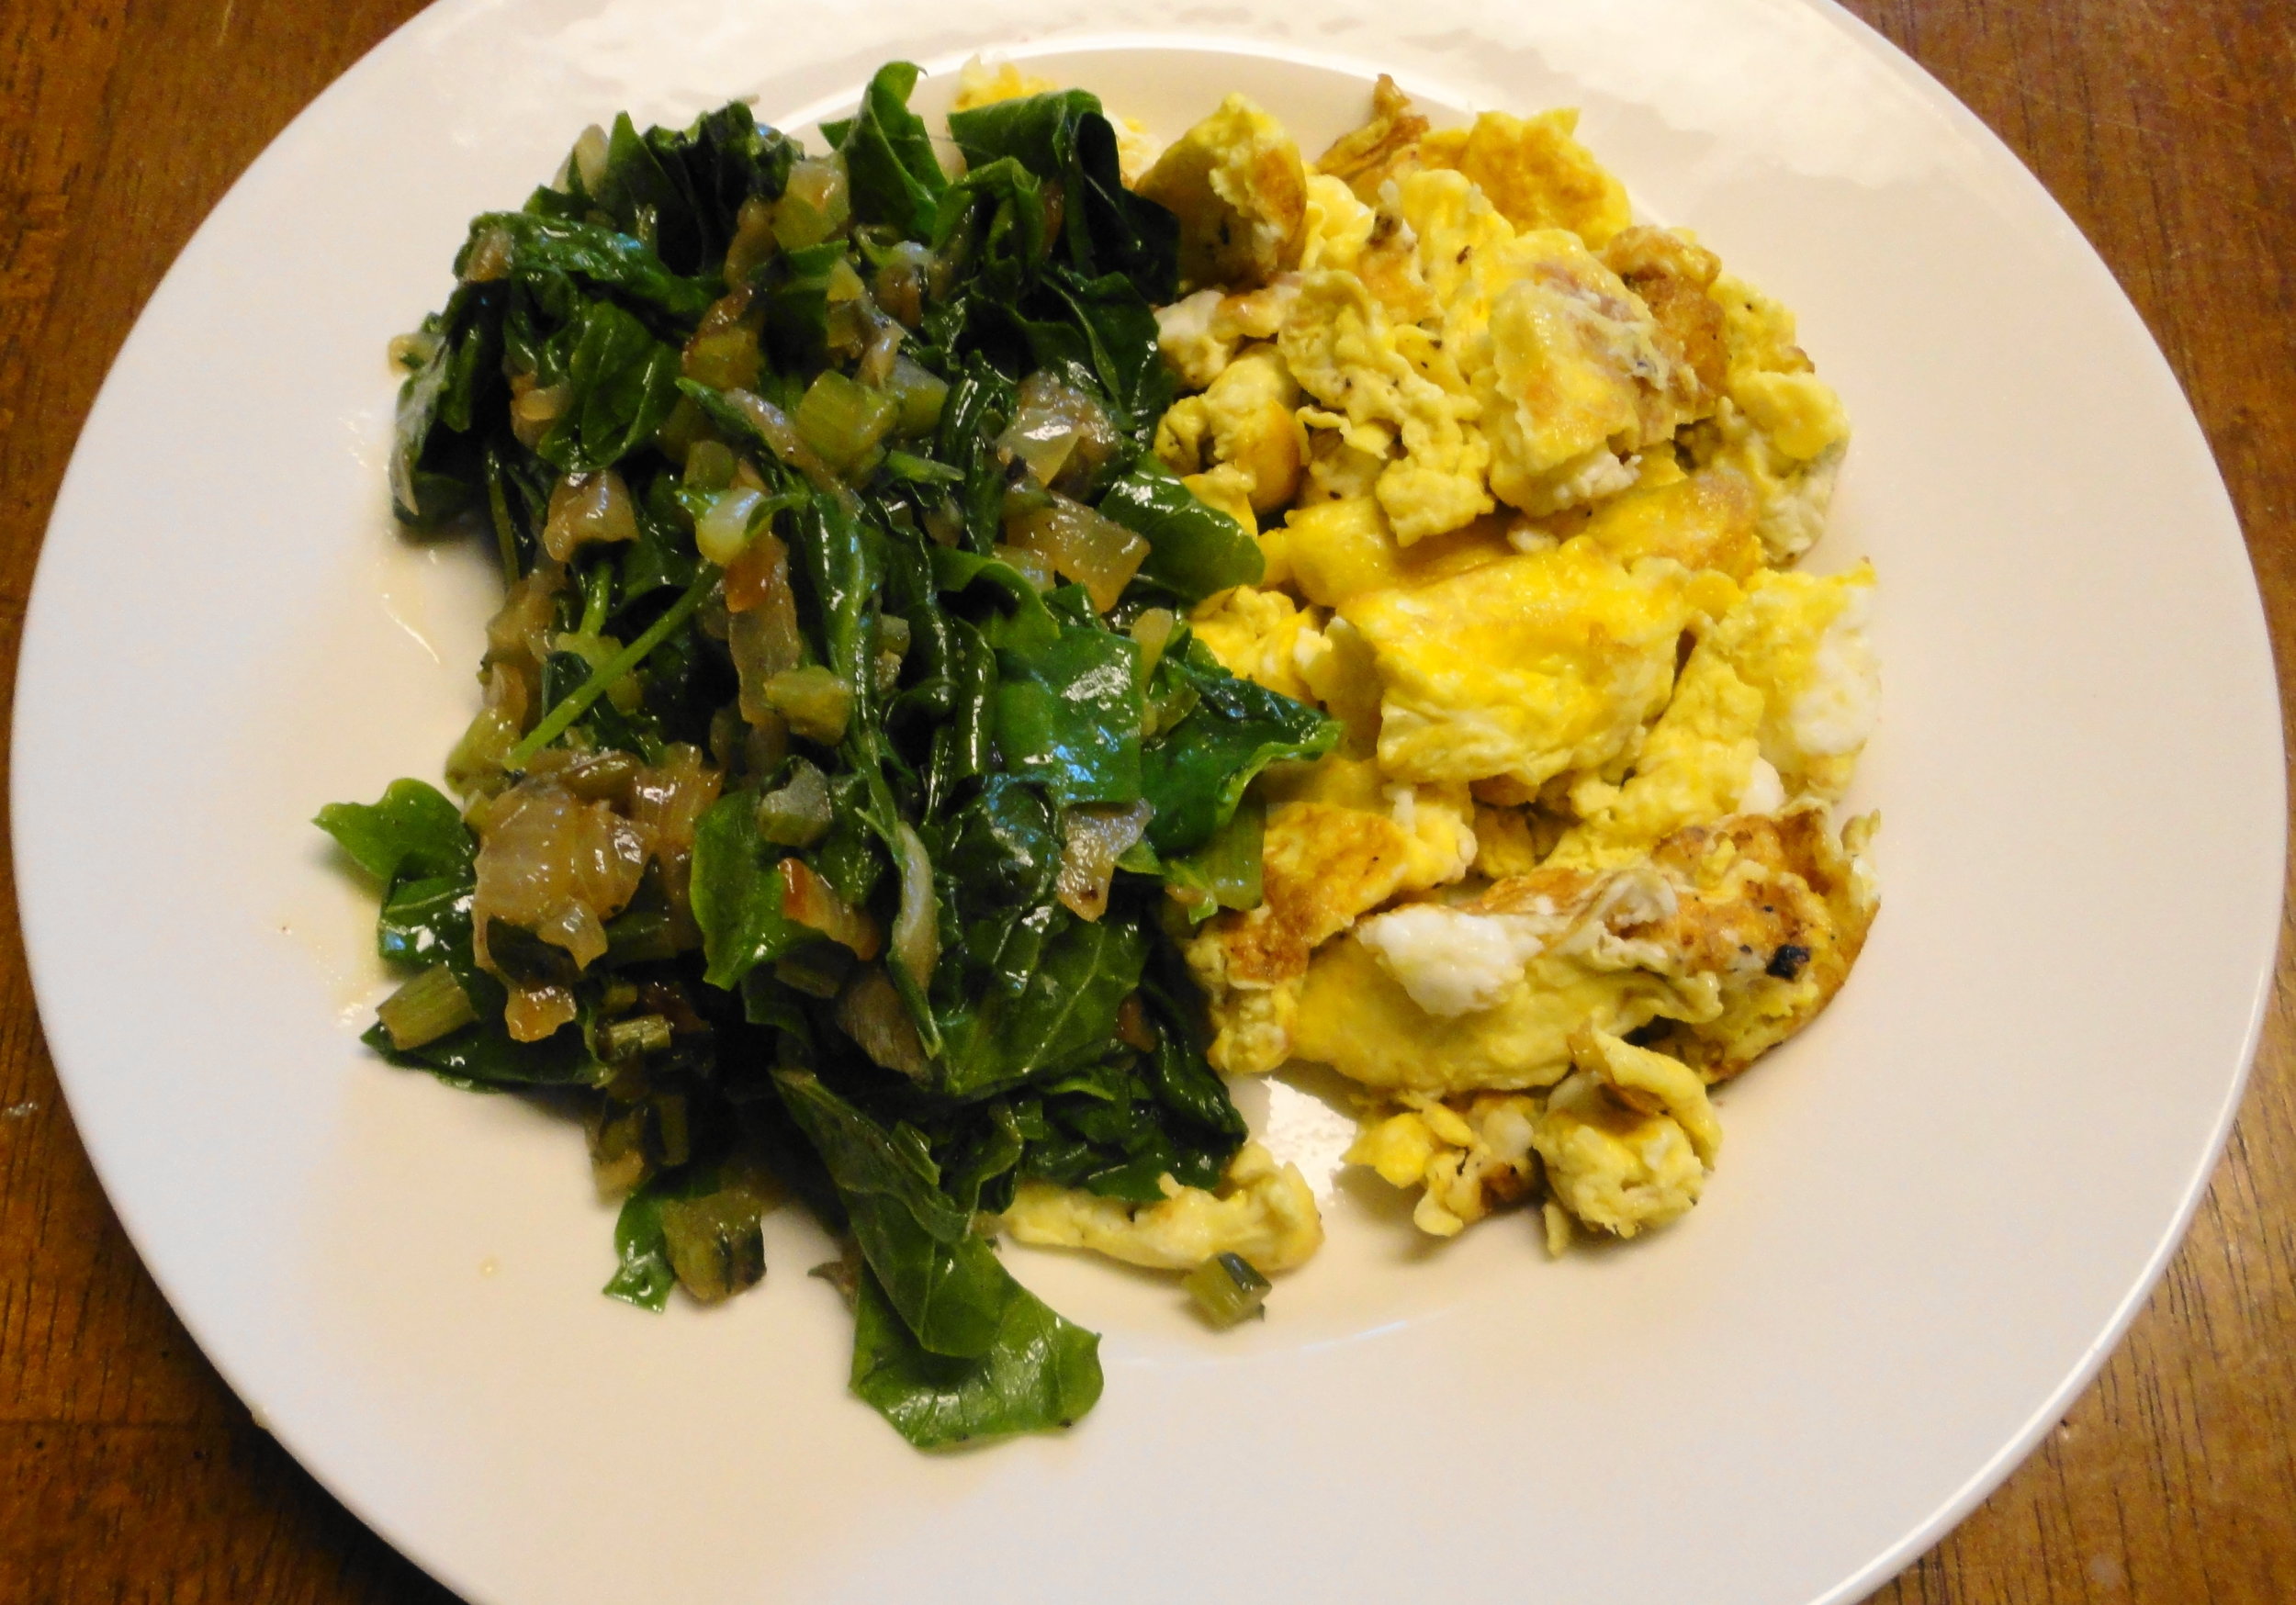
I prepared the broccoli using my favorite method: roasting. It was crispy and delicious and went perfectly with some scrambled eggs.

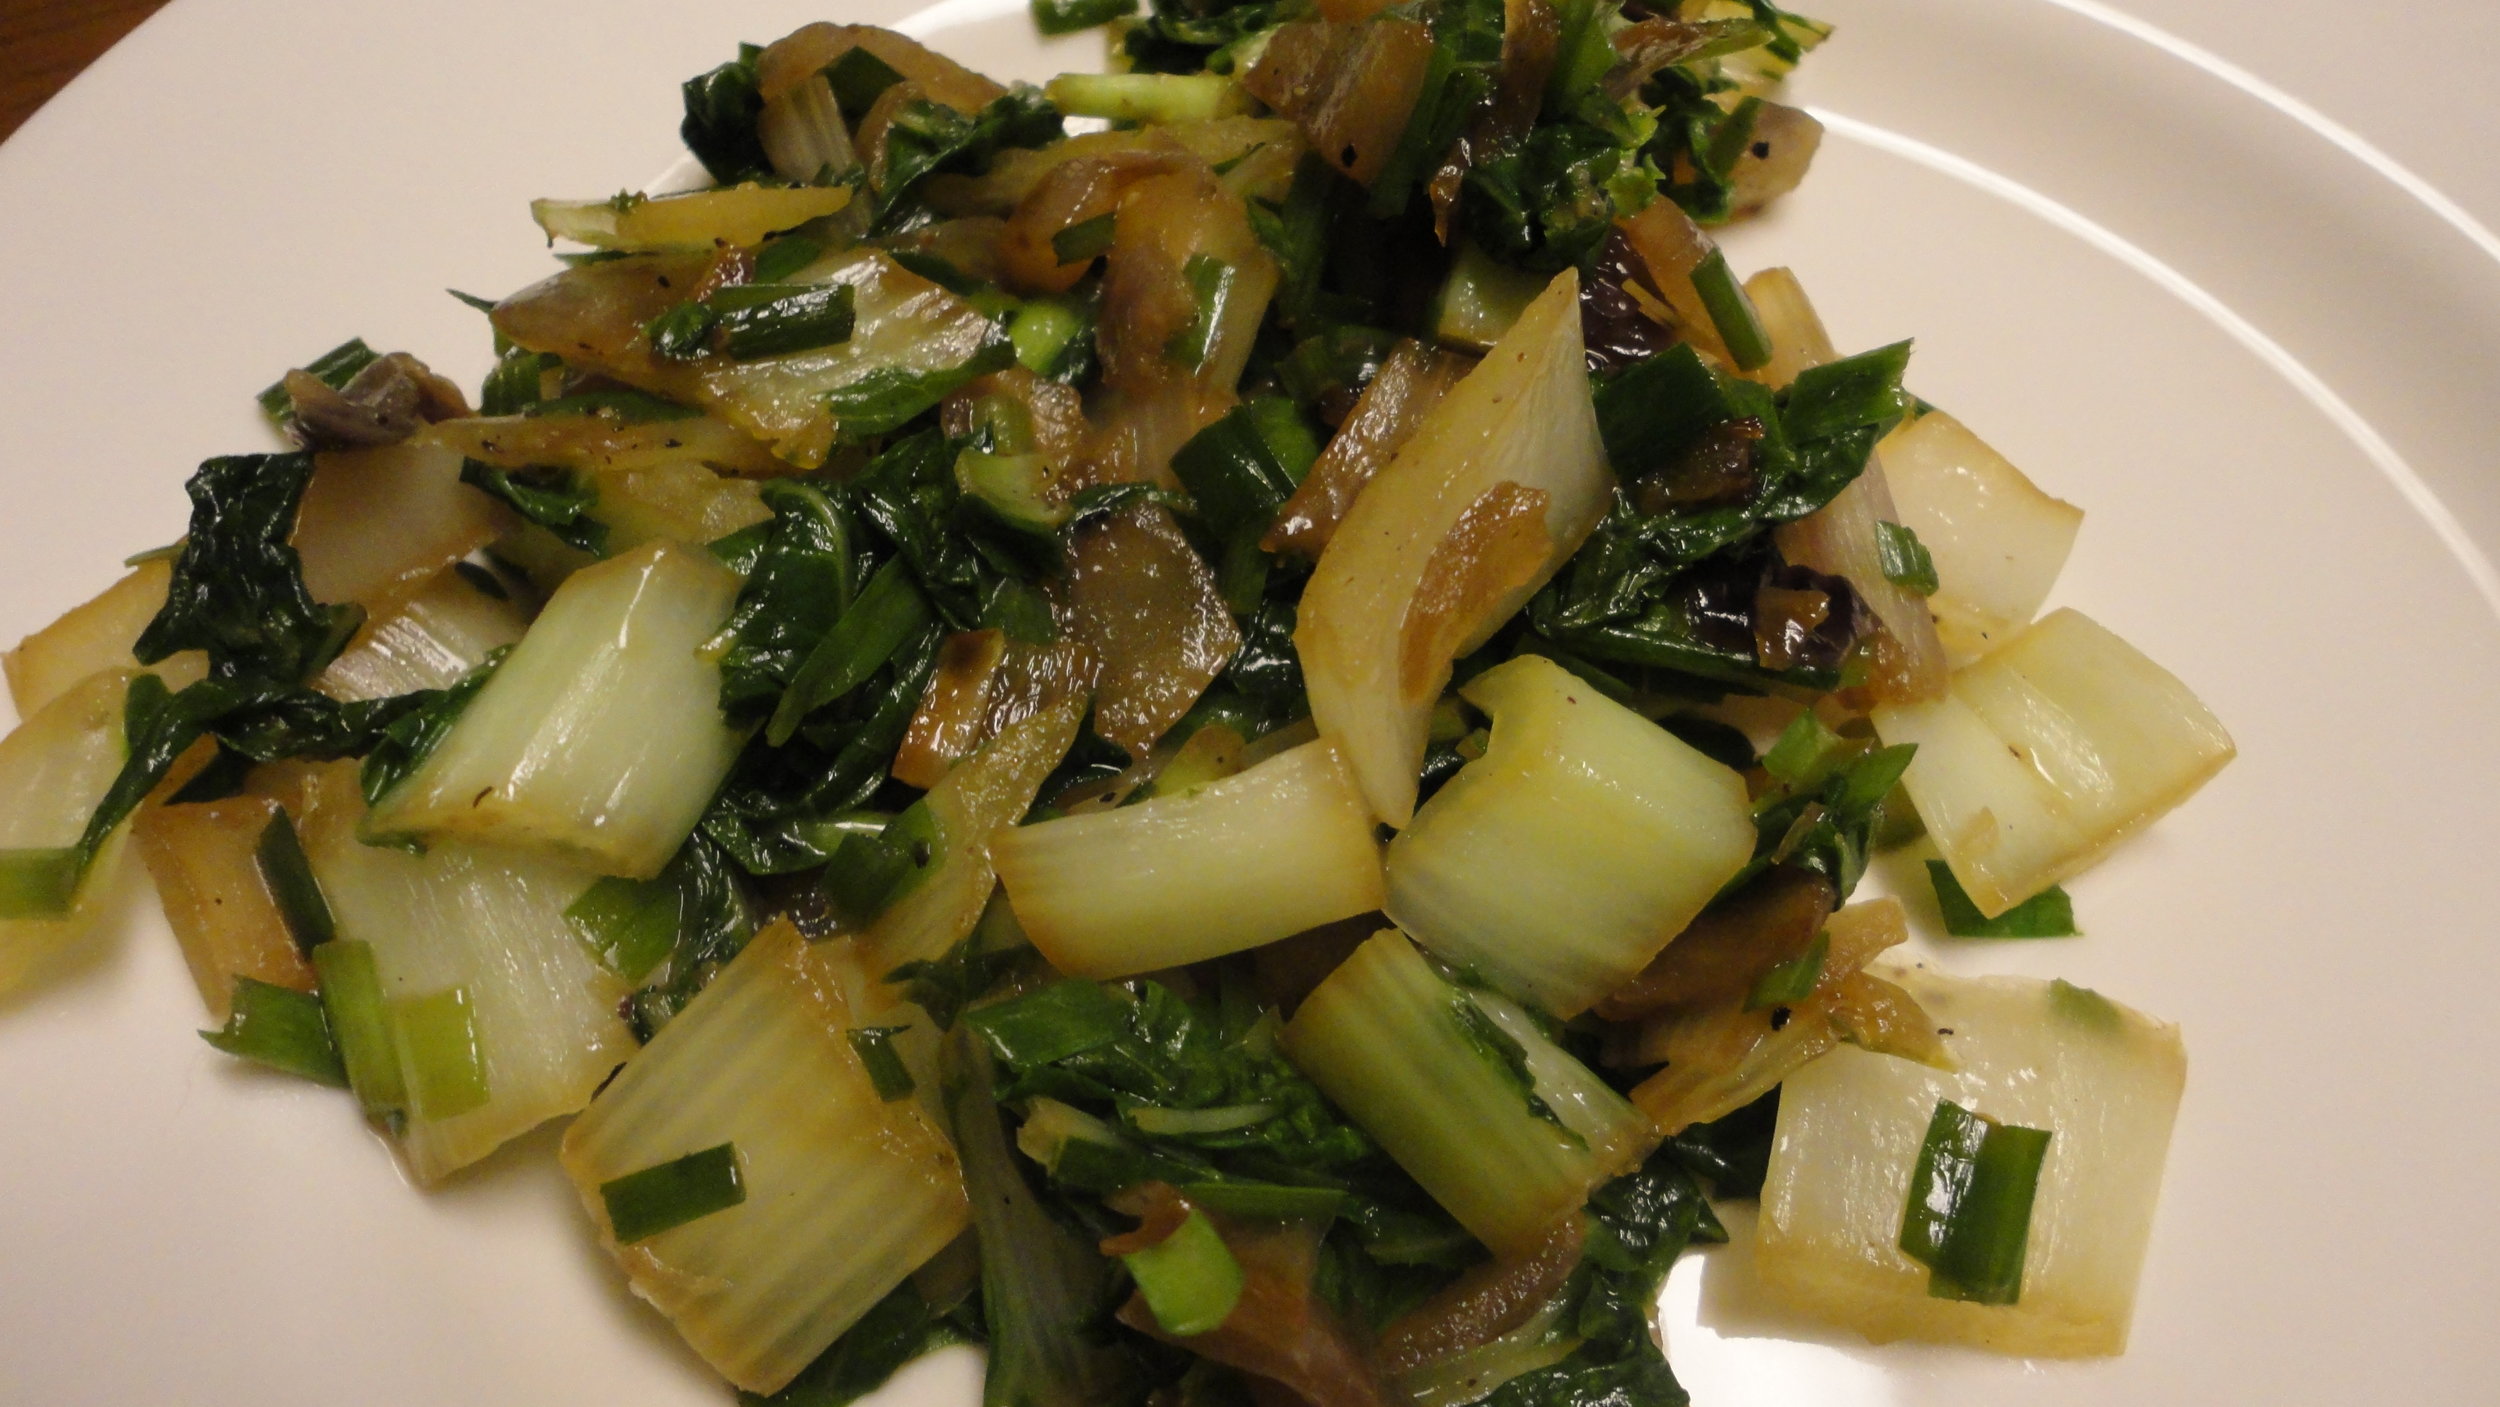
We had pork chops one night this week and I roasted up the yellow squash, onion bulbs, and some zucchini as the side. Once the pork chops were done cooking, I quickly sauteed the green onion tops in the remaining fat and threw in some tamari (kind of like soy sauce) to deglaze the pan. This was the perfect topping for our pork chops!

The basil is going into tonight's pizza.
As far as the garlic goes, I haven't used it yet. I was playing around with the idea of trying to dry it for long term storage, but I'm not sure that will work without the stems intact. I'll probably just end up using it in recipes. We definitely use our fair share of garlic!
Are you as excited as me that the summer veggies are starting to come in? Share in the comments below!